If you are looking for a new craft to try, latch hooking is a great option. It is a fun and creative way to make beautiful rugs and other home decor items. Latch hooking involves using a special tool to loop yarn through a grid-like canvas, creating a plush and textured design. This article will provide step-by-step instructions for beginners who want to try latch hooking and create their own stunning rugs.
Step 1: Gather Your Materials
Before you start latch hooking, you will need to gather all the necessary materials. Here is a list of what you will need:
– Latch hook canvas or rug canvas
– Latch hook tool
– Yarn or pre-cut rug yarn in various colors
– Scissors
– Tapestry needle
– Optional: rug binding or fringe for finishing edges
– Optional: graph paper and colored pencils for creating your own design
– Optional: rug backing or non-slip mat for securing the finished project
Once you have gathered all the materials, you are ready to begin latch hooking.
Step 2: Prepare Your Canvas
Once you have your materials ready, the next step is to prepare your latch hook canvas. Start by trimming any excess threads along the edges of the canvas. This will make it easier to work with.
Step 3: Familiarize Yourself with the Latch Hook Tool
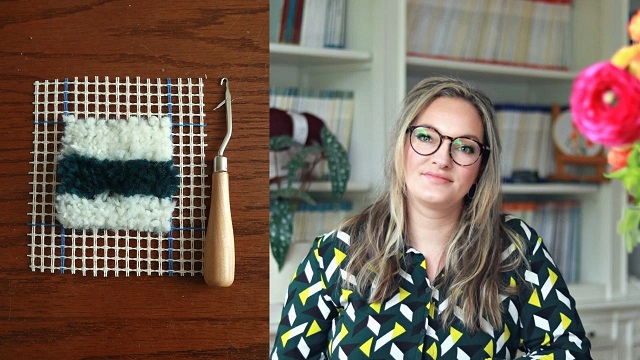
Before you start latch hooking, take some time to familiarize yourself with the latch hook tool. It consists of a handle and a hooked needle-like end. The hook is used to pull the yarn through the canvas.
It is important to understand the latch hook tool. This tool is made up of a handle and a needle-like end that is hooked. The purpose of the hook is to pull the yarn through the canvas. Familiarizing yourself with this tool will help you to use it effectively and achieve the desired results in your latch hook project.
Step 4: Begin Latch Hooking
Now it’s time to start latch hooking! Begin by choosing a color of yarn for your first stitch. Thread the yarn through the latch hook tool, leaving a small loop at the end.
Step 5: Finishing Your Rug
Once you have completed latch hooking the entire design, it’s time to finish your rug. Carefully trim any excess yarn that may be sticking out of the loops to create an even and plush surface.
One common method is to use a whip stitch or blanket stitch around the perimeter of the rug. This involves using a needle and thread to sew a series of small, diagonal stitches along the edge, creating a border that helps to hold the rug together.
Another option is to bind the edges with a fabric binding or bias tape. This can be sewn onto the edge of the rug with a sewing machine or hand stitched for a more decorative finish. This method provides a clean, finished look and also helps to prevent fraying.
If you prefer a simpler finish, you can also use a fabric glue or adhesive tape to secure the edges. Simply apply the adhesive along the edge of the rug and press the fabric down firmly to create a clean edge.
Once you have finished securing the edges, take a moment to inspect your rug and make any final adjustments. Trim any remaining stray yarn or uneven loops to ensure a polished appearance.
Conclusion
Latch hooking is a rewarding and enjoyable craft that allows you to create beautiful rugs and other home decor items. By following these step-by-step instructions, beginners can easily learn the art of latch hooking and create their own stunning rugs. So why not give latch hooking a try and add a touch of handmade charm to your home?